Setting up a Palo Alto firewall for the first time can seem complex, but with the right guidance, you’ll have it up and running in no time. This step-by-step guide is designed to help you configure your Palo Alto PA-450 (or similar series) from scratch.

✅ Prerequisites Before You Start
- A Palo Alto firewall (e.g., PA-450)
- Ethernet cable
- A laptop/PC with a browser
- Default login credentials:
Username: admin
Password: admin
🔧 Initial Configuration Steps
1. Connect to the Management Interface
- Connect your laptop to the MGT port on the firewall using an Ethernet cable.
- Manually assign the following IP to your laptop:
IP Address: 192.168.1.2
Subnet Mask: 255.255.255.0
2. Login to Web Interface
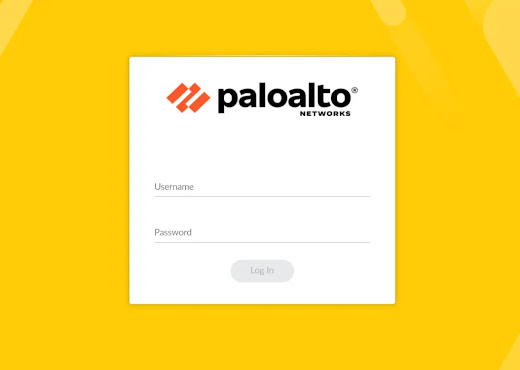
- Open your browser and go to:
https://192.168.1.1 - Accept the security warning.
- Login using:
- Username: admin
- Password: admin
- You’ll be prompted to change the default password — do it immediately.
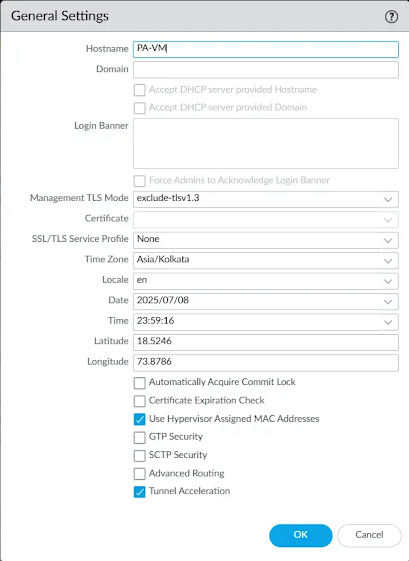
3. Set Hostname, Timezone, and DNS
Go to: Device → Setup → Management
- Set the hostname (e.g., PA-450-FW)
- Choose your timezone
- Enter public DNS servers:
8.8.8.8
1.1.1.1
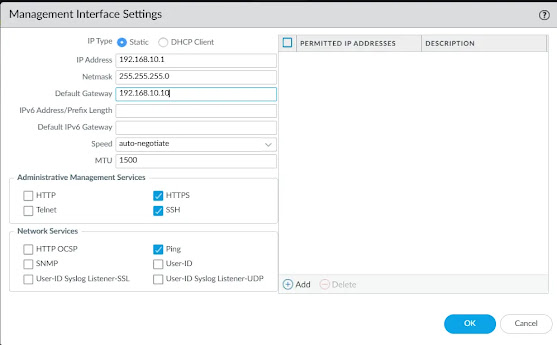
4. Configure Management IP (Optional)
- Go to: Device → Setup → Interfaces → Management
- Assign a static IP (e.g., 192.168.10.1)
- Set subnet mask and gateway (if needed)
5. Retrieve Licenses
- Connect a WAN interface (e.g., ethernet1/1) to the internet.
- Go to: Device → Licenses
- Click “Retrieve license keys from Palo Alto Networks”
- Ensure your device is licensed for Threat Prevention, WildFire, URL Filtering, and Support.
🌐 Network Configuration
6. Create Security Zones
Go to: Network → Zones → Add
- Create:
trust(for internal LAN) - Create:
untrust(for internet-facing WAN)

7. Configure Interfaces
Go to: Network → Interfaces → Ethernet
Set Layer 3 interfaces:
| Interface | Zone | IP Address | Description |
|---|---|---|---|
| ethernet1/1 | untrust | 192.168.1.2/24 | WAN interface |
| ethernet1/2 | trust | 192.168.10.1/24 | LAN interface |
Assign each interface to the correct virtual router (default) and zone.
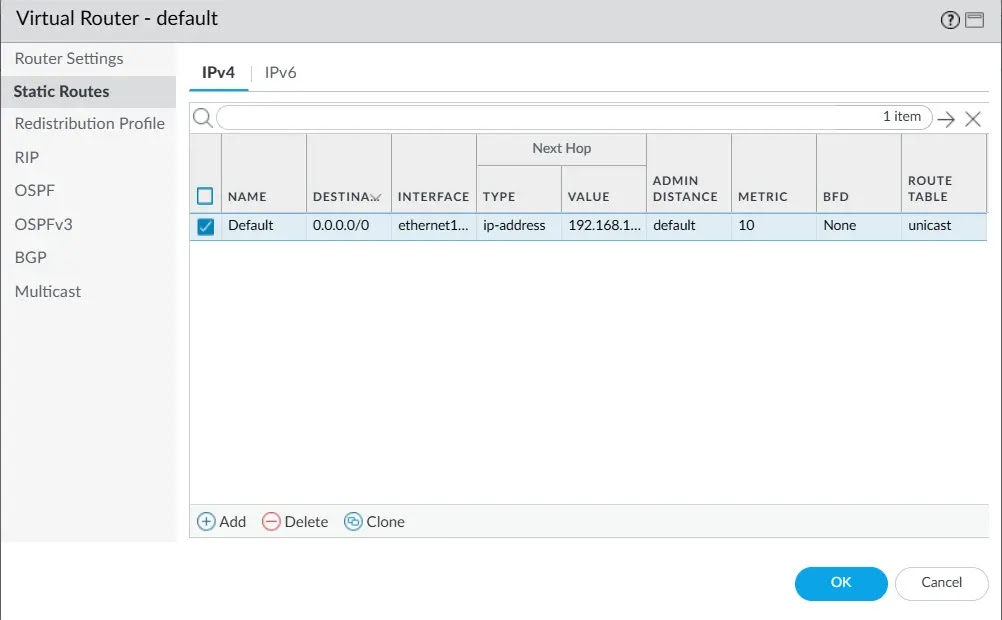
8. Configure Virtual Router + Static Route
Go to: Network → Virtual Routers → default
- Add a static route:
Name: default-route
Destination: 0.0.0.0/0
Next Hop: 192.168.1.1 (your internet gateway)
Interface: ethernet1/1
🔐 Security Policy + NAT
9. Create Security Policy
Go to: Policies → Security → Add
- Name: Allow Internet
- From Zone: trust
- To Zone: untrust
- Source/Destination: any
- Application: any
- Service: any
- Action: allow
10. Configure NAT Policy
Go to: Policies → NAT → Add
- Name: Internet NAT
- Original Packet:
- From: trust
- To: untrust
- Source/Destination: any
- Translated Packet:
- Translation Type: Dynamic IP and Port
- Interface Address: ethernet1/1
11. Commit the Configuration
- Click Commit at the top-right.
- Wait for the commit to complete (1–2 minutes).
12. Test Connectivity
- Connect a PC to the LAN interface (e.g., ethernet1/2)
- IP: 192.168.10.10
- Gateway: 192.168.10.1
- Test internet by pinging 8.8.8.8 or browsing any website
🗂️ Optional Enhancements
- Enable Threat Prevention, URL Filtering, and WildFire profiles
- Configure GlobalProtect VPN
- Enable Logging and Alerts
- Backup your config regularly via Device → Setup → Operations
🧐 Final Thoughts
This guide helps you set up your Palo Alto PA-450 (or similar) from scratch in a secure and scalable way. Once the basics are done, you can move on to more advanced topics like User-ID, SSL Decryption, HA, and advanced reporting.
Need more advanced setup guides? Drop a comment or contact us directly at contact@firewallflow.com or visit firewallflow.com!
📄 Example XML Configuration
This is a sample XML configuration for a basic Palo Alto firewall setup, including management IP, zones, interfaces, NAT, and security policies. You can use this as a reference or import it (with modifications) into your own firewall for quick initial configuration.
Cybersecurity blogger with a focus on firewalls, network security, and tech trends making security simple for everyone, from IT pros to curious minds.